In automotive manufacturing, hidden defects don’t just cost time—they hit your bottom line hard. If you’re dealing with stubborn scrap rates and inconsistent quality, relying on manual inspections or traditional sampling just won’t cut it at today’s ultra-tight tolerances. That’s exactly why this case study matters: anonymized Tier-1 automotive supplier deployed real-time machine vision inspection to slash defects and push their first-pass yield to 98%. Ready to discover how Jeenoce’s AI-powered, high-speed vision system transformed a complex powertrain line, cutting scrap cost by millions and delivering measurable ROI in under 10 months? Let’s dive into the proven steps behind this breakthrough.
In automotive manufacturing, even tiny defects can lead to costly recalls, warranty claims, and damage to brand reputation. Industry benchmarks show average escape rates between 50 and 100 parts per million (ppm), with recalls often costing millions of dollars per event. Traditional quality control methods like sampling and manual inspection struggle to catch defects at these ultra-low levels. Human inspectors face challenges detecting subtle issues such as micro-burrs or seal misplacements on complex parts, which leads to hidden defects slipping through.
Our client, an anonymized Tier-1 supplier specializing in precision powertrain components, confronted this exact problem. Their existing quality processes delivered only 89–91% yield, resulting in significant scrap, rework, and customer complaints. Demand for immediate improvement was clear: move from 1.5% Acceptable Quality Level (AQL) sampling to 100% automated inspection to meet stringent customer requirements and reduce costly escapes. This case study explores how they rose to this challenge, driving yield from 89% to over 98% in under a year through advanced real-time vision inspection technology.

Our client, a Tier-1 supplier of precision aluminum transmission components, faced a tough challenge. Their products are complex, involving both machining and assembly of multiple parts. Before the project, the first-pass yield was stuck between 89% and 91%, meaning a significant amount ended up as scrap or required costly rework.
The main defects causing issues included surface scratches, tiny burrs, missing seals, incorrect part orientation, and dimensional deviations—all critical flaws that impacted performance and reliability. To meet stringent automotive quality standards, the customer demanded a dramatic shift: moving from traditional 1.5% AQL sampling to 100% automated inspection on the production line.
This was no small ask. The goal was clear—reduce defects to below 100 ppm within a year while maintaining fast cycle times and handling a complex mix of variants efficiently. Achieving this required rethinking quality control beyond conventional sampling and human inspection methods. For a detailed look at similar automotive vision inspection challenges and solutions, see our industry solutions page.
The client’s initial attempt to use off-the-shelf vision systems quickly ran into major roadblocks. First, the cycle time was too slow—taking over 3 seconds per part—which couldn’t keep up with the fast-paced automated assembly line demands. This caused bottlenecks and reduced overall throughput.
Second, these standard systems struggled with the highly reflective machined aluminum surfaces of the transmission components, resulting in a high false-reject rate. Many good parts were flagged incorrectly, leading to unnecessary rework and lowered confidence in the inspection process.
Lastly, the off-the-shelf solutions couldn’t efficiently handle the complexity of over 120 variants running on the same line. The lack of flexibility to adapt to variant changes without extensive reconfiguration made consistent quality control impossible.
These issues highlighted why a specialized, real-time vision inspection automotive system was necessary to meet the client’s strict quality and productivity goals.
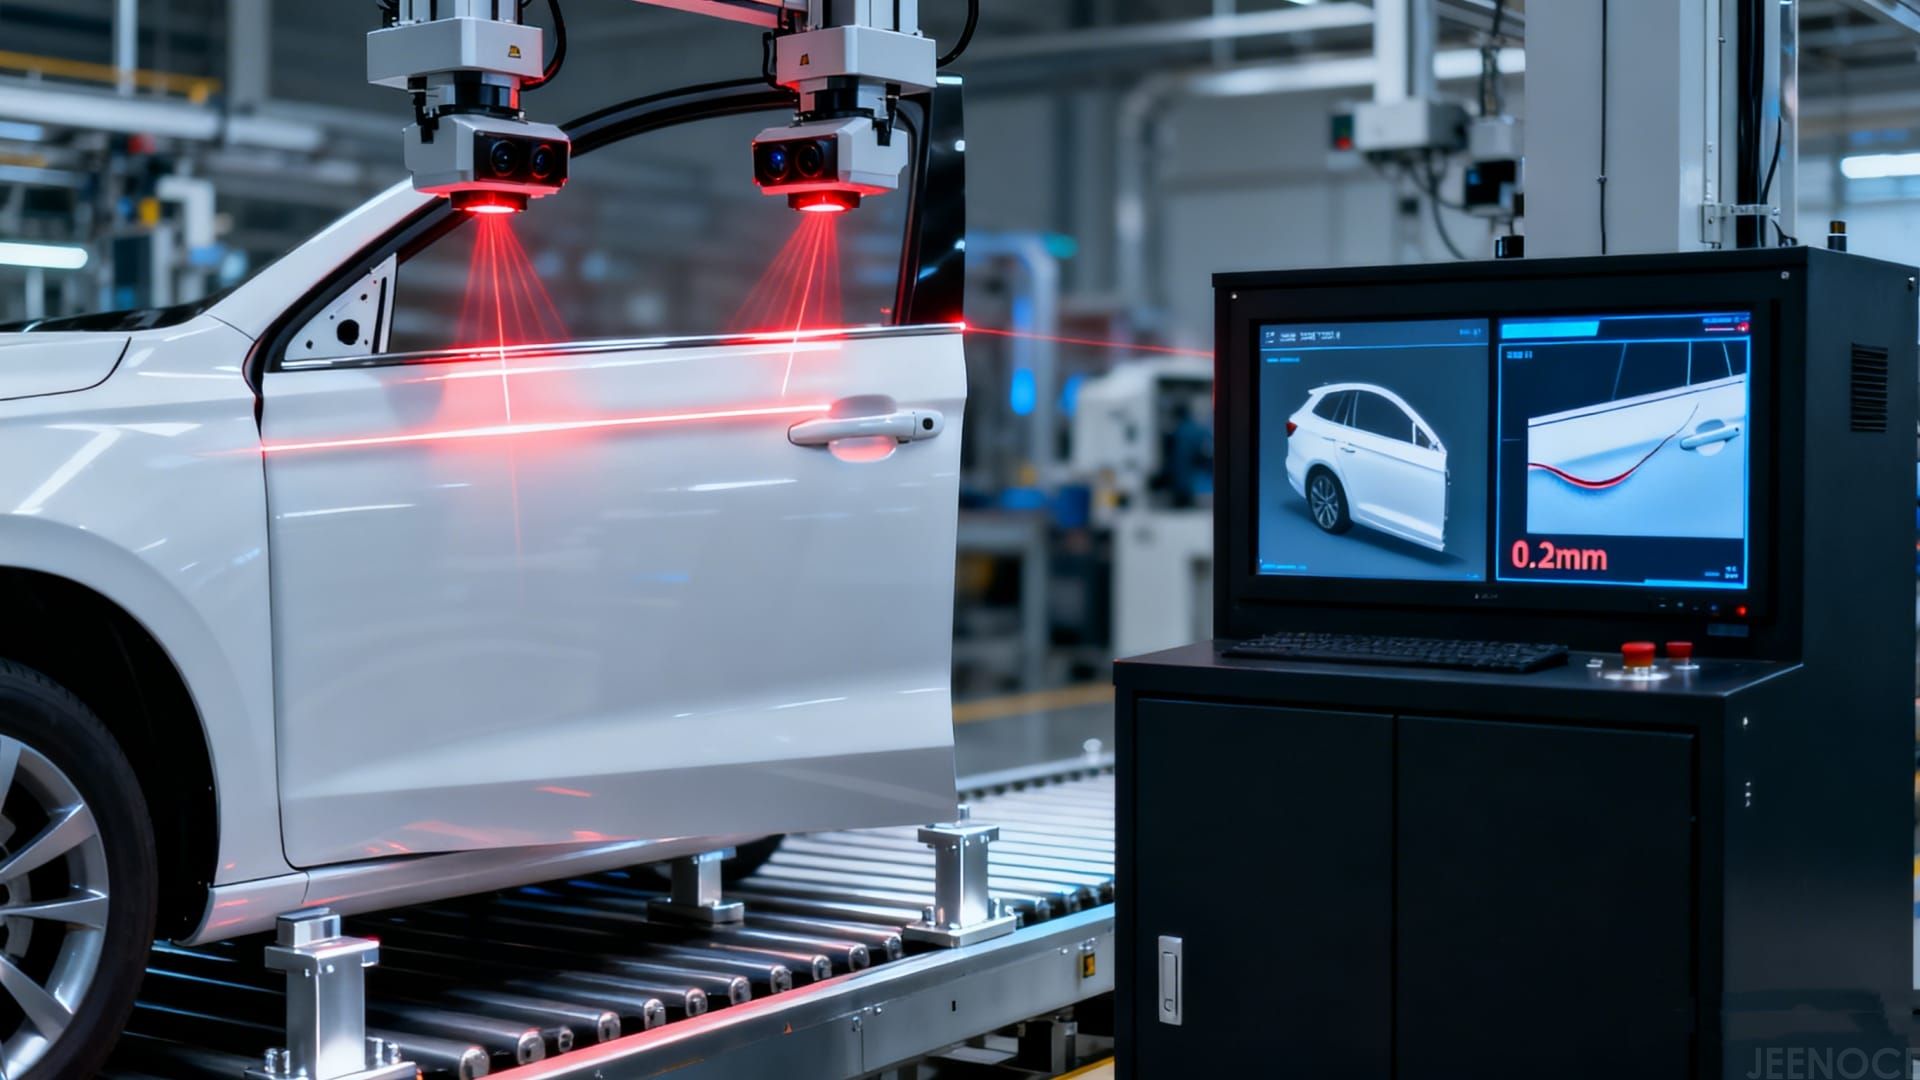
To meet the demanding cycle times and quality targets, we designed a robust vision inspection system that fits seamlessly into the existing line using SMT-style high-speed transfer and 6-station parallel inspection. This setup ensures every part is checked without slowing down production.
The hardware includes high-resolution 21MP area cameras paired with telecentric lenses for distortion-free imaging, plus custom 360° dome lighting that uniformly illuminates complex aluminum surfaces to minimize reflections and shadows.
On the software side, Jeenoce employs a hybrid engine combining deep learning with rule-based algorithms. This approach leverages AI trained on 500.000 labeled defect images, providing both adaptability and precision.
Key technologies powering the system include:
Sub-pixel edge detection capable of catching burrs smaller than 15 µm
Real-time 3D height mapping to verify seal presence and correct seating
A seamless AI and rule-based workflow that balances speed and accuracy
This architecture represents a leap forward in real-time machine vision automotive applications, delivering 100% in-line vision inspection with minimal false rejects. For more details on our advanced assembly line inspection solutions, see our high-speed vision inspection system overview.
The implementation followed a clear, fast-tracked plan to hit production goals in just two months:
Week 1-2: Created a detailed defect catalog and performed GR&R (Gauge Repeatability and Reproducibility) studies to ensure measurement precision.
Week 3-4: Conducted lighting and optics lab trials to fine-tune the custom 360° dome lighting and telecentric lenses for consistent defect detection on reflective surfaces.
Week 5-6: Ran an on-line pilot on a single assembly cell, validating real-time vision inspection performance under actual production conditions.
Week 7-8: Completed full line rollout across the cell and integrated Statistical Process Control (SPC) systems to support ongoing yield monitoring and quality control.
This structured approach ensured a smooth transition to 100% automated inspection with minimal disruption—an essential step for real-time machine vision automotive applications.

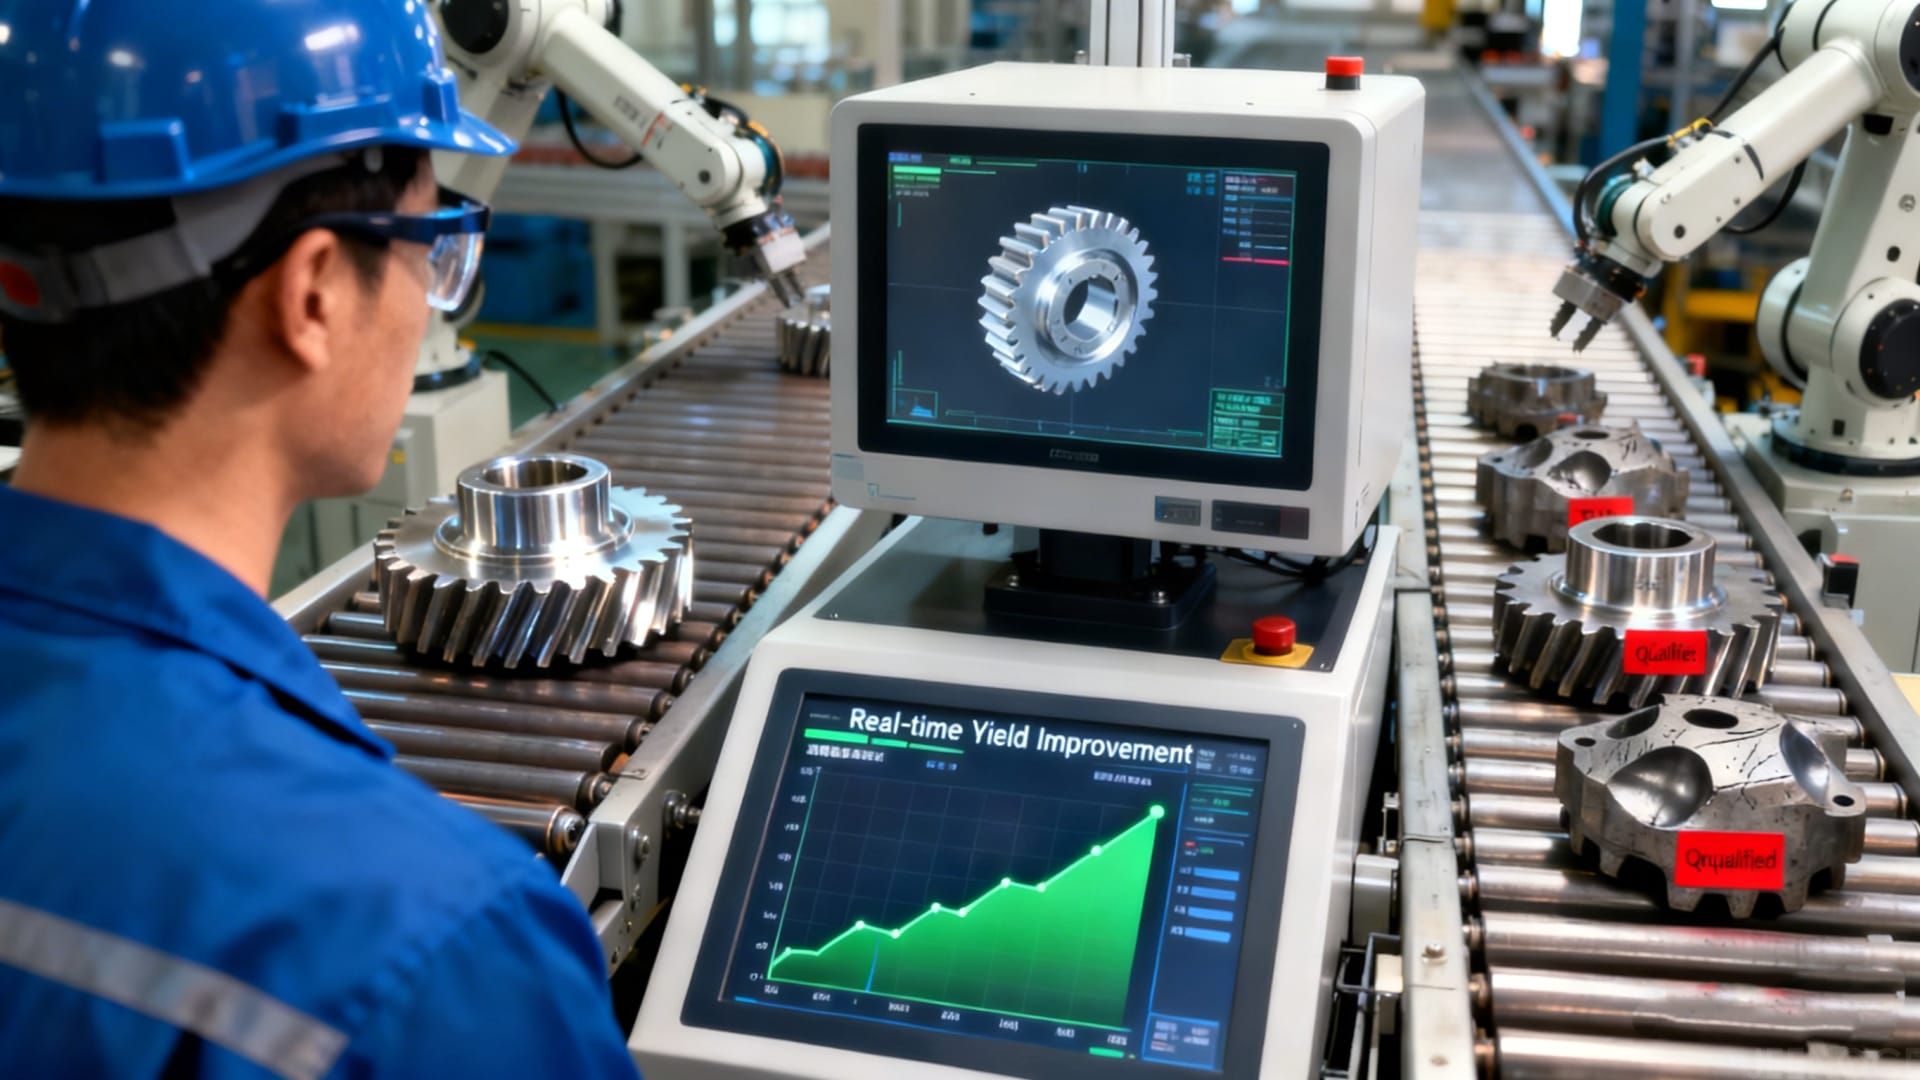
The impact of the real-time vision inspection system was clear and rapid. The first-pass yield jumped from 89.3% to an impressive 98.2%, and this level has been consistently maintained. External defect rates plummeted from 8.500 parts per million (ppm) down to just 87 ppm—a 99% reduction. These improvements translated into significant savings, with scrap and rework costs falling by $1.84 million annually.
The project also delivered fast returns, with a full ROI reached within 9.4 months. Perhaps most importantly, after the rollout, there have been zero customer complaints related to the inspected features, demonstrating the system’s reliability and the benefits of in-process visual inspection.
This successful outcome underscores how high-speed, automated inspection can drive substantial improvements in production yield and quality control, particularly when tailored to the complexities of automotive manufacturing.
To clearly show the impact of our real-time vision inspection system, we captured visual evidence highlighting the key defects detected:
| Defect Type | Before Jeenoce Inspection | After Jeenoce Inspection |
|---|---|---|
| Micro-burrs (<15 µm) | Often missed or inconsistent detection | Consistently detected with sub-pixel edge accuracy |
| Surface Scratches | Limited detection with human error | Clear, repeatable identification under custom lighting |
| Seal Defects (missing or improper seating) | High miss rate due to lack of 3D inspection | Real-time 3D height mapping confirms seal presence reliably |
High-resolution photos show micro-burrs invisible to previous systems but clearly flagged by Jeenoce’s hybrid AI and rule-based engine.
Scratches that used to pass unnoticed are now vividly captured under specialized 360° dome lighting.
Seal defects are caught in real-time with precise 3D height mapping for seating verification.
| Metric | Before | After |
|---|---|---|
| CpK (Process Capability) | 0.92 | 2.18 |
| Defect PPM | 1.500+ | <100 |
The substantial CpK improvement reflects tighter process control and repeatability, setting a new quality standard for inline automotive inspection. This data reiterates how our solution drastically cut escapes and rework, shaping a reliable zero-defect manufacturing approach for powertrain components—details you can explore further in our deep dive on smart manufacturing.
One of the biggest drivers behind the breakthrough yield improvement was the custom lighting design, which accounted for about 60% of the system’s success. Precise, consistent illumination helped the vision system detect tiny surface defects and subtle burrs on reflective machined parts, overcoming a common challenge in automotive inspection.
Equally important was the hybrid approach of combining deep learning AI with deterministic rule-based algorithms. This blend ensured high detection accuracy while keeping false rejects low, especially with complex defect types like missing seals and dimensional deviations. The AI handled variability across 120+ part variants, while rule-based checks provided reliable thresholds for specific defects.
Finally, change management played a critical role in the project’s smooth rollout. Gaining operator trust through hands-on retraining and involving them early in testing reduced resistance and improved inspection consistency. This human element, often overlooked, was key to sustaining improvements and scaling the solution.
After proving its impact, the Jeenoce real-time vision inspection system is now standardized across seven additional production lines worldwide. This rollout ensures consistent quality and process control for all plants by using the same proven vision module and inspection protocols.
Key to this wide-scale adoption is the remote monitoring dashboard, which gives quality managers real-time insights into line performance and defect trends anywhere in the world. Plus, predictive maintenance features help prevent downtime by flagging equipment issues before they impact yield.
By combining standardized hardware with smart remote management, the supplier can confidently scale their automated optical inspection yield improvement efforts globally, supporting their zero-defect manufacturing goals.
Message