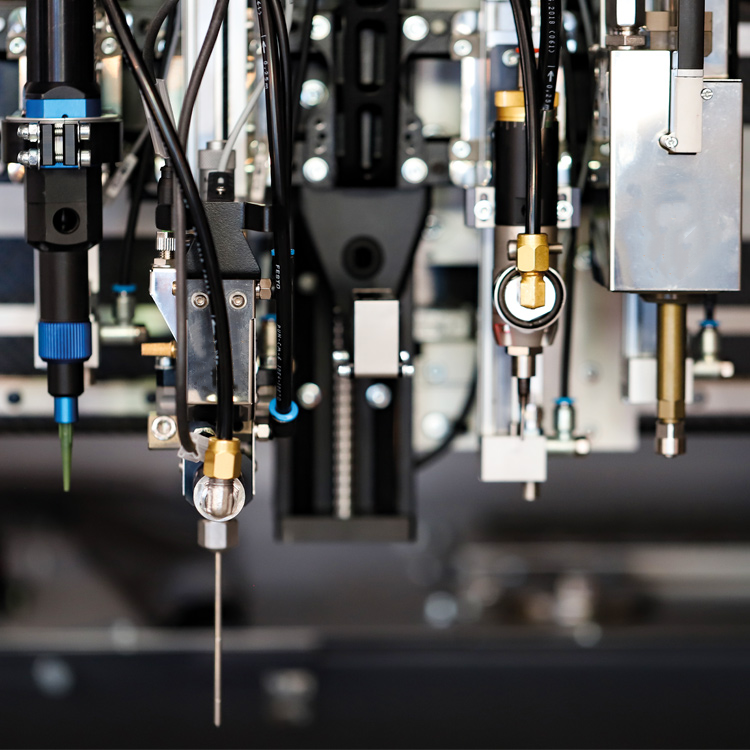
Cleaning and dismantling steps for the dispensing valve of the dispensing machine
Release time:2024-01-09Publisher:Jeenoce
The dispensing valve commonly used in automatic dispensing machines has a disadvantage, which is that it needs to be cleaned, which is relatively troublesome because the glue will solidify, causing the internal cavity of the dispensing valve to be filled with solidified glue, making it unusable. If not cleaned, the cost is a bit high, which is a considerable expense. Today, JEENOCE will teach you how to disassemble and clean the dispensing valve.

When we get the dispensing valve, we analyze it based on the valve body and start with its structure. Disassembling it is relatively simple. There are no screws on the front of the dispensing valve, only the upper and lower corners have screws. We need to unscrew the screws at the bottom and top, and then unscrew the screws in the middle position. Separate the lower half (rubber chamber) and upper half (cylinder), take the part with glue, clean it with alcohol, pour it into the rubber chamber, remove the glue, and then combine it together.
Cleaning of dispensing valve
The cleaning of the dispensing valve generally uses alcohol or glue remover, and cleaning agents that affect the sealing ring should not be used, otherwise it is easy to cause glue leakage during secondary use. The manufacturer needs to configure a certain amount of cleaning agent to facilitate the cleaning of the dispensing valve. Generally, cleaning mainly involves cleaning the glue inside the glue chamber thoroughly, and there is no need to clean it too thoroughly. It only takes five minutes to soften the internal glue and avoid solidification.

