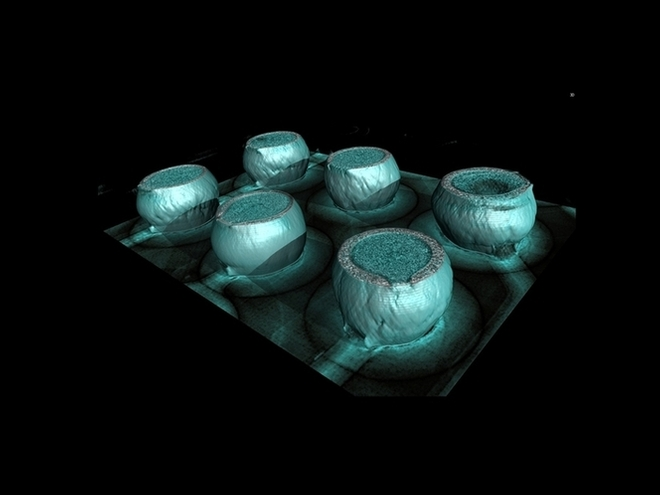
Application Analysis of XRAY Detection of Bubble Voids in BGA Materials
Release time:2024-07-11Publisher:Jeenoce
XRAY, X-ray, also known as X-ray, is a non-destructive testing technology widely used in industrial, medical and other fields. In terms of detecting bubble voids, XRAY, with its unique penetrability and imaging ability, can intuitively display the internal structure and defects of materials, providing a powerful tool for quality control and fault diagnosis. So, how can we observe and judge bubble voids through XRAY?
Firstly, we need to understand the reasons for the formation of bubble cavities. Bubble voids are often caused by incomplete gas discharge or the presence of small pores inside the material during the manufacturing process. These bubble voids can affect the performance and stability of the material, and may even cause serious quality problems. Therefore, timely detection and repair of bubble voids are crucial.
When using XRAY for bubble cavity detection, we usually use X-ray perspective imaging technology. This technology emits X-rays to the object being detected, and then uses a detector to receive the X-rays that have penetrated the object, forming an image of the object's internal structure. During this process, bubbles and voids will appear in different shades or colors on the image, making it easier for us to observe and judge.
Specifically, we can observe bubble voids from the following aspects:
1、 Observe the overall condition of the image. In the X-ray perspective imaging image, we can see the overall structure of the detected object. If there are obvious dark or bright spots in the image, it may indicate the presence of bubbles or voids in that area. At this point, we need to further observe and analyze the specific situation of these areas.
2、 Analyze the shape and size of bubble voids. By observing the bubble voids in the image, we can roughly determine their shape and size. Generally speaking, bubble voids may appear in circular, elliptical, or irregular shapes, and their sizes may also vary. These pieces of information help us understand the properties and potential impacts of bubble voids.
3、 Determine the position and distribution of bubble voids. Bubble voids may be distributed in various positions of the material, some may be near the surface, and some may be hidden deep inside the material. By observing X-ray images, we can determine the specific location and distribution of bubble voids, providing guidance for subsequent repair work.
4、 Combine other detection methods for comprehensive judgment. Although XRAY has high sensitivity and accuracy in detecting bubbles and cavities, sometimes it is necessary to combine other detection methods for comprehensive judgment. For example, we can use technologies such as ultrasonic testing and infrared thermal imaging to further detect areas suspected of bubble voids, in order to obtain more comprehensive information.

When using XRAY for bubble cavity detection, we also need to pay attention to the following points:
Firstly, ensure the accuracy and stability of the testing equipment. XRAY testing equipment requires regular calibration and maintenance to ensure the accuracy and reliability of its testing results.
Secondly, pay attention to operational standards and safety. When using XRAY for testing, we need to comply with relevant operating procedures and safety requirements to avoid adverse effects on personnel and the environment.
Finally, record and analyze the test results. We need to record the detection results and analyze and process the data to better understand the distribution and properties of bubble voids, providing a basis for subsequent quality control and improvement.
In summary, observing bubble voids through XRAY requires us to possess certain professional knowledge and operational skills. Only by fully understanding the causes and detection methods of bubble voids can we accurately determine their condition and provide strong support for quality control and fault diagnosis.

